S
Shellie Wilson
Guest
- Thread Author
- #1
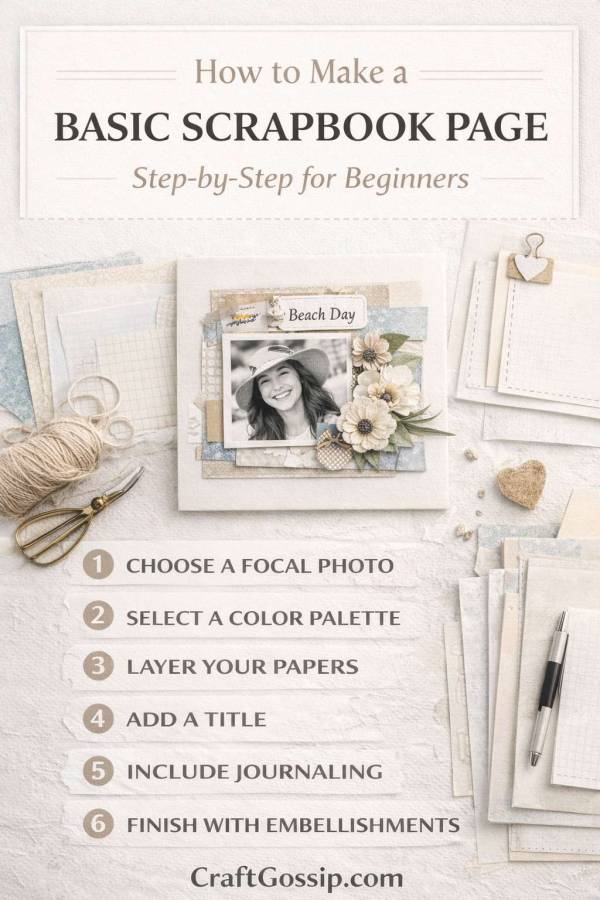
If you’ve ever sat down with photos, paper, and a cup of tea… only to stare at a blank 12×12 page like it personally offended you — you are not alone.
Learning how to make a basic scrapbook page can feel strangely overwhelming.
Where does the photo go?
How much paper is too much paper?
Why does theirs look effortless and mine look like a sticker explosion?
Let’s simplify it.
A beautiful scrapbook page is built on just five core elements:
• A focal photo
• Background paper
• Supporting layers
• Journaling
• Simple embellishments
That’s it.
You don’t need fifty supplies.
You need a plan.
What You Need to Make a Basic Scrapbook Page
Before we get into the step-by-step scrapbook tutorial, let’s keep supplies realistic.
Basic Scrapbooking Supplies for Beginners
You’ll need:
- 12×12 cardstock (or your album size)
• 1–3 printed photos
• 2–3 patterned papers
• Adhesive
• Scissors or paper trimmer
• Pen for journaling
Optional but helpful:
• Foam tape
• Stickers or small embellishments
• Paper scraps for layering
Start simple. You can always add more later.
Step-by-Step: How to Make a Scrapbook Page
This is the process I still use after years of scrapbooking.
It works every time.
Step 1: Choose Your Focal Photo
Your scrapbook page needs a star.
Pick one photo that tells the story.
If using multiple photos, choose one slightly larger than the rest. That becomes your focal point.
Pro tip: Mat your photo with a contrasting cardstock. Even a thin border makes it look more professional.
Step 2: Choose a Simple Color Palette
One of the biggest beginner mistakes in scrapbooking is mixing too many colours.
Instead, build around:
- One dominant color
• One supporting color
• One neutral
Look at your photo — pull colors from it.
If the photo has warm tones, avoid cool blues. If it’s beachy, lean into soft neutrals.
This instantly makes your scrapbook layout look cohesive.
Step 3: Build Your Paper Layers
Now we add depth.
Place your photo on top of 2–3 layered papers.
Offset each layer slightly so edges peek out.
You can:
• Tear one edge for texture
• Add a narrow strip underneath
• Use foam tape for lift
Layering is what makes scrapbook pages look professional instead of flat.
Step 4: Add a Title
Every basic scrapbook page needs a title.
Keep it simple:
• “Beach Day”
• “First Day of School”
• “Sunday Afternoon”
Place the title near your focal photo.
Avoid floating it randomly — anchor it into your design.
Step 5: Add Journaling
This is where the magic happens.
Don’t skip it.
Write:
• The date
• The location
• A short memory
Even three sentences is enough.
Years from now, you’ll care more about the story than the stickers.
Step 6: Add Embellishments (Carefully)
Now comes the fun part — but this is where beginners often overdo it.
Use the rule of three.
Group embellishments into small clusters.
For example:
• A small floral cluster
• Three enamel dots
• A tag tucked behind the photo
If it feels crowded, remove one item.
White space is not wasted space.
Simple Scrapbook Layout Ideas for Beginners
If you’re still unsure how to arrange your page, try one of these beginner-friendly scrapbook layout ideas:
1. Centered Design
Photo in the middle with layers underneath.
2. Grid Layout
Two or three photos in neat rows.
3. Left-Side Cluster
Photo and embellishments on one side, journaling on the other.
4. Diagonal Flow
Elements flowing from top left to bottom right.
Structured layouts reduce overwhelm.
Common Scrapbook Page Mistakes (And How to Fix Them)
Let’s gently fix a few things most beginners struggle with.
Too Many Patterns
Stick to one bold print and one subtle print.
No Focal Point
Make one photo larger.
Filling Every Inch
Remove one embellishment cluster.
No Journaling
Add even one line. It matters.
How to Make Your Scrapbook Page Look More Professional
Here’s what separates a basic scrapbook page from a polished one:
- Consistent color palette
• Balanced embellishment clusters
• Clear focal point
• Intentional white space
• Clean adhesive edges
Professional doesn’t mean complicated.
It means deliberate.
Traditional vs Digital Scrapbook Pages
If you’re wondering whether to go digital or paper:
Traditional scrapbooking:
• Textured
• Relaxing
• Hands-on
• Sentimental
Digital scrapbooking:
• Editable
• Easy to duplicate
• Less storage
There’s no wrong choice — just what suits you.
Why Making a Basic Scrapbook Page Is Enough
You don’t need to create a masterpiece every time.
Some of my favorite scrapbook pages are the simplest ones.
One photo.
One memory.
A few layers.
Done.
And honestly? That’s what scrapbooking is about.
Preserving moments.
Not performing for Pinterest.
Quick Recap: Basic Scrapbook Page Formula
If you only remember one thing from this beginner scrapbook tutorial, let it be this formula:
- Choose a focal photo
- Pick 2–3 coordinating papers
- Layer intentionally
- Add a simple title
- Include journaling
- Finish with minimal embellishments
That’s your blueprint.
You can repeat it forever.
Now I’m curious — are you someone who plans every scrapbook page first, or do you lay things out and adjust as you go?